Table of Contents
Enter Level Paralleling GPS Guidance System, Cheap and Perfect Solution for Agriculture GPS.
Agricultural tasks require precision and efficiency, and a tractor GPS can be a game-changer in managing your fields. The 7-inch tractor GPS is an excellent tool for improving your farming operations, ensuring accuracy, and saving both time and resources. This guide will walk you through the steps to install and use your 7-inch tractor GPS efficiently.
Why Use a Tractor GPS?
A GPS system on your tractor offers several advantages:
- Accurate Field Mapping: Helps in identifying field boundaries, rows, and tracks.
- Reduced Overlap: Minimizes unnecessary overlap when applying seeds, fertilizers, or pesticides.
- Cost and Time Savings: Enhances productivity, leading to reduced fuel and labor costs.
Now, let’s dive into the installation and usage process.
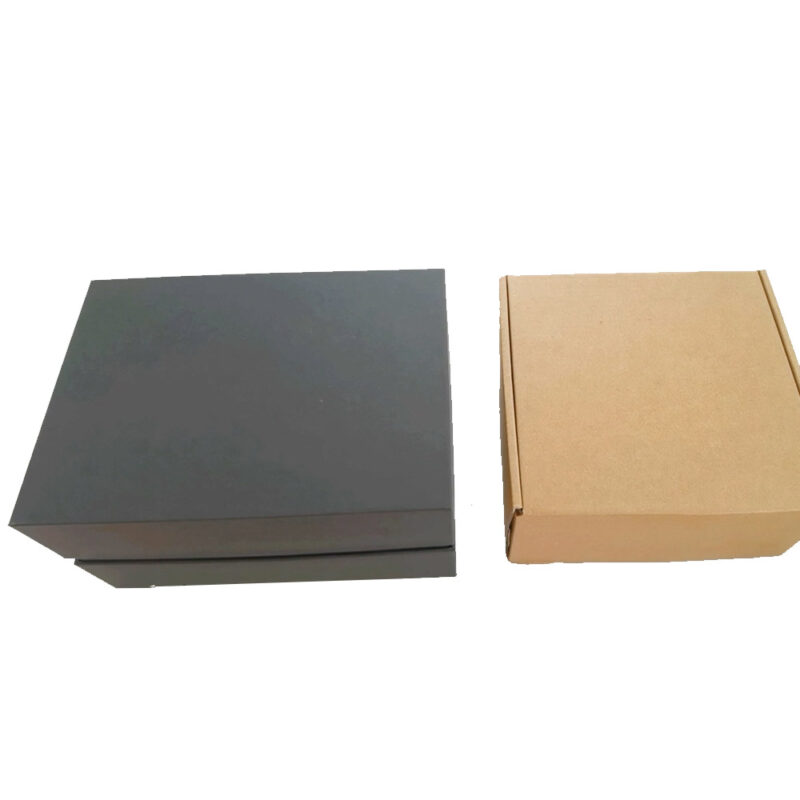
1. Unboxing Your 7-Inch Tractor GPS
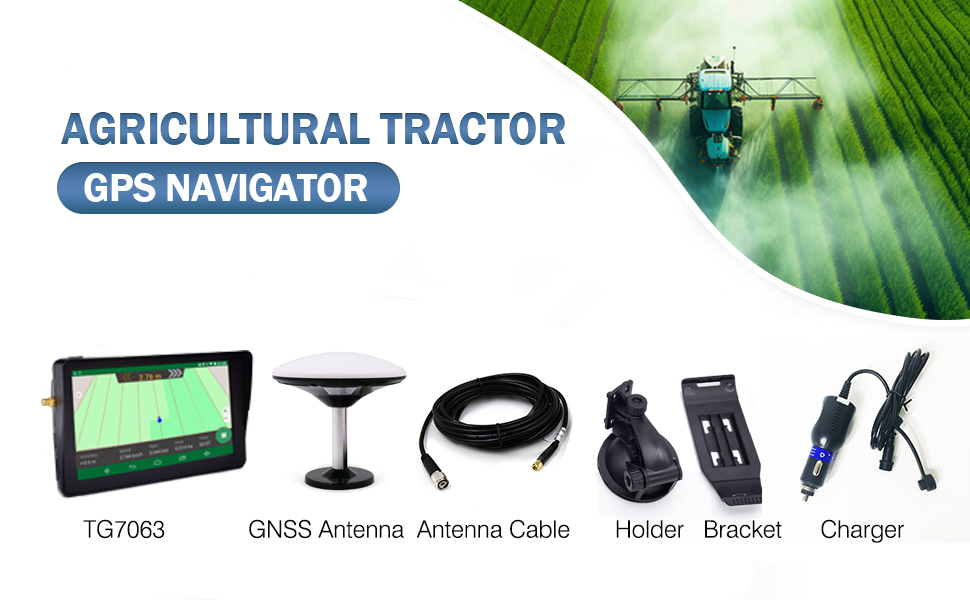
Before starting, ensure you have all the necessary components:
- 7-inch GPS device
- Mounting bracket
- Power cables
- Antenna
- User manual
- Any additional accessories
Check everything is in good condition and matches the items listed in the manual.

2. Installation Process
Step 1: Mounting the GPS Device
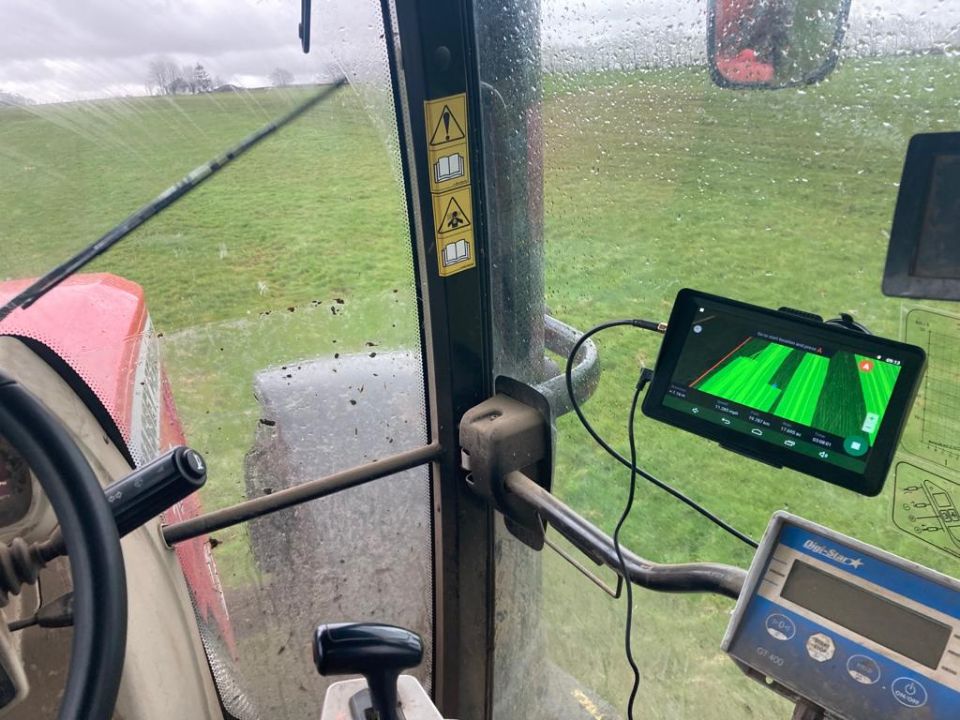
- Choose a suitable location on your tractor’s dashboard where you have a clear view, and it doesn’t obstruct your vision.
- Attach the mounting bracket firmly to the dashboard using the provided suction cup.
- Secure the 7-inch GPS device onto the bracket, ensuring it’s tightly locked in place.
Step 2: Connecting the Power Supply
- Use the provided power cable to connect the GPS device to your tractor’s power source (usually a 12V socket).
- Ensure the connection is tight, and there are no loose cables.
Step 3: Connecting the GPS Antenna
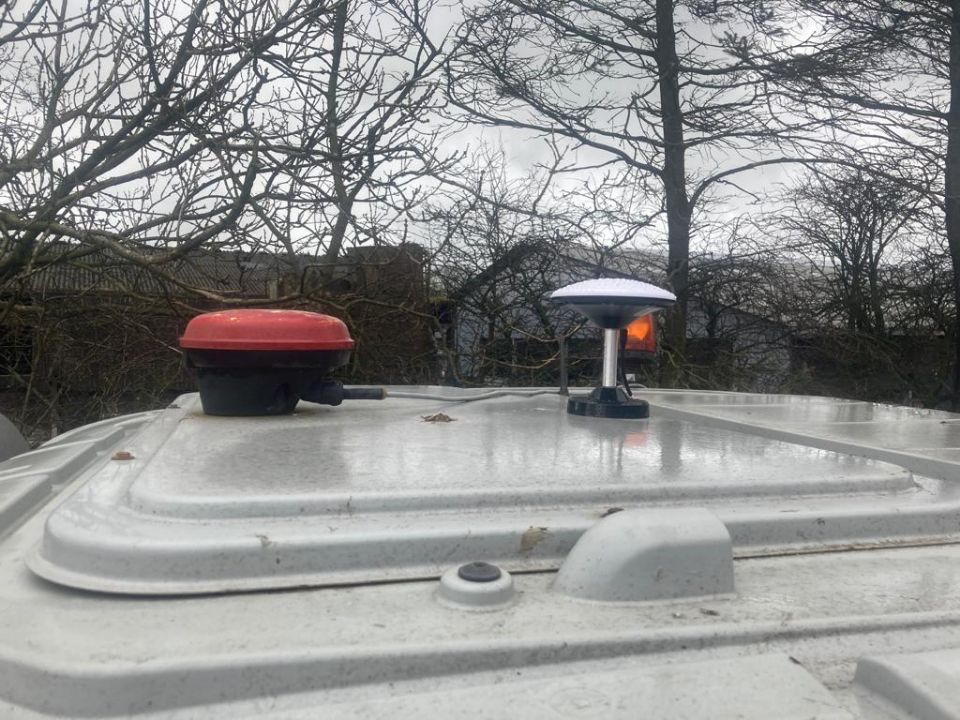
- Attach the GPS antenna to your device, following the manual’s instructions.
- Place the antenna at the roof of tractor for the best satellite signal.
Step 4: Initial Setup
- Power on the GPS device by pressing the power button.
- The default language is English. Choose the one you like under Setting/ Language
- Connect WIFI
- Login Your Google Account
3. Using Your 7-Inch Tractor GPS
Step 1: Navigating the Interface
- The 7-inch screen offers a clear and user-friendly interface. Familiarize yourself with the buttons and menu options.
- The GPS devices have a touchscreen interface, making it easy to navigate through different settings.
Step 2: Setting Up Field Boundaries
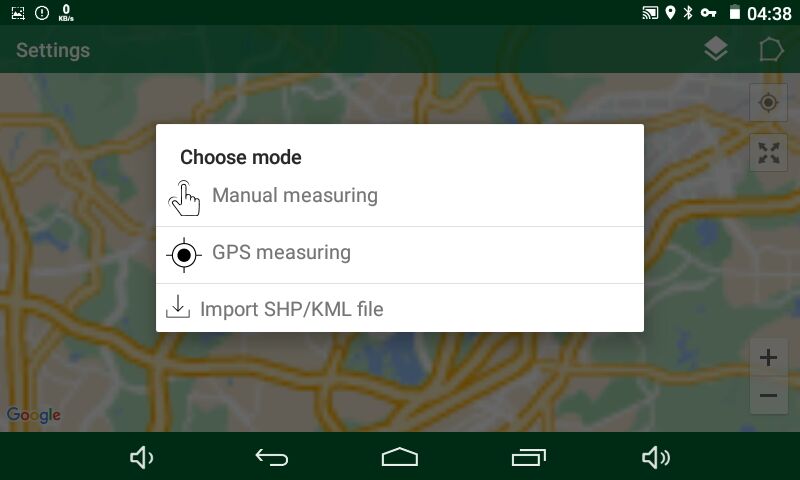
- Choose the Measuring Mapping Mode option from the main menu.
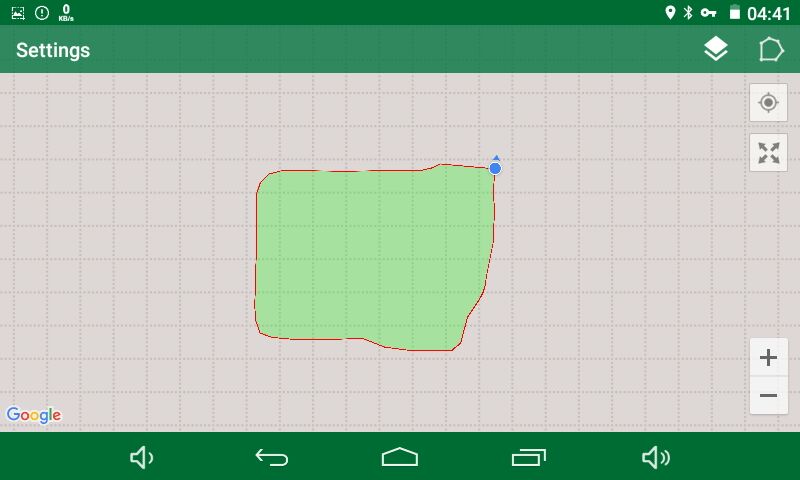
2. Drive around the boundary of your field to record its size and shape.
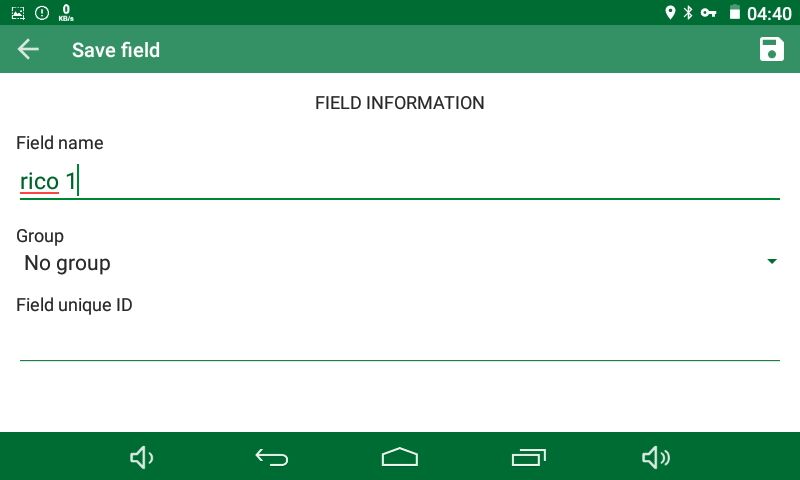
3. Save the boundary for future use, so you can access it whenever needed.
Step 3: Set Point A (Starting Point)
Drive your tractor to the beginning of the row where you want to start.
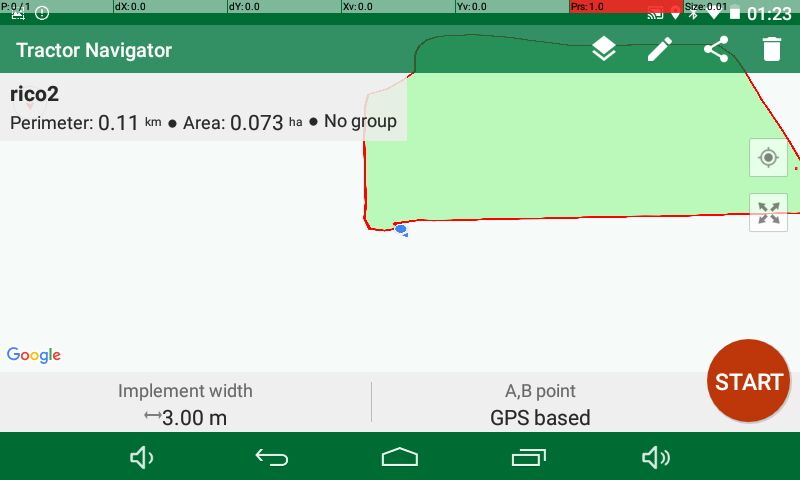
- Click the field and press "START"
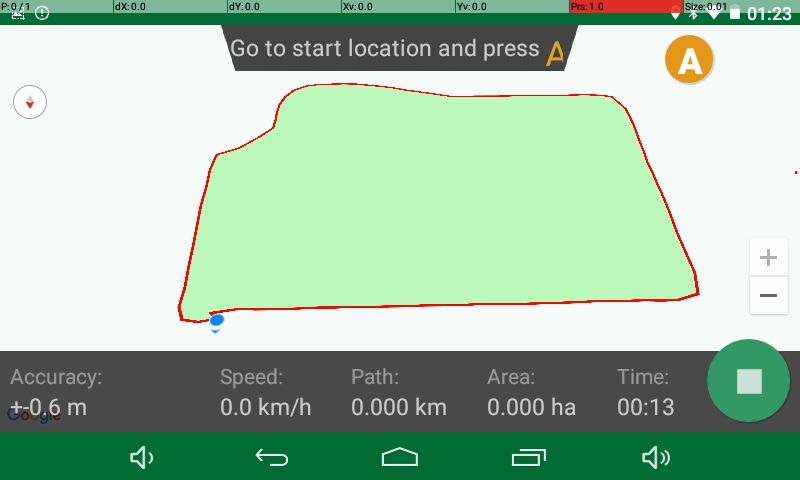
2. Go to start location and Press A
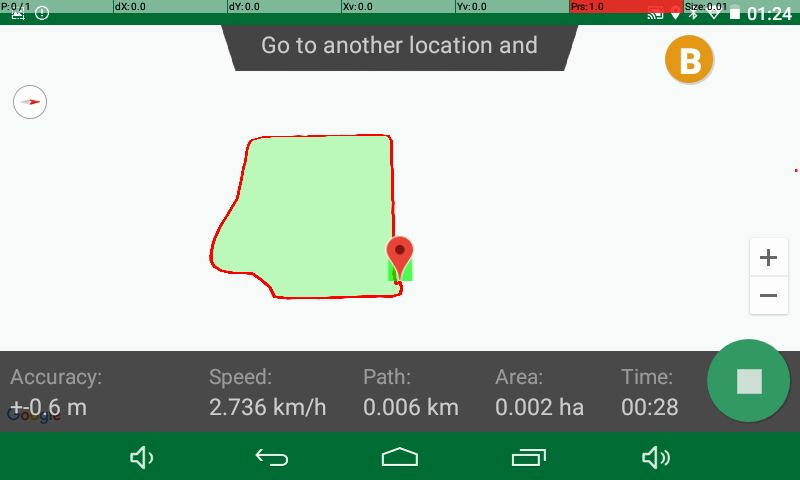
3. Drive in a straight line across your field to the other end of the row. When you reach the desired endpoint, press the "Set B" button. This marks the endpoint of your line
- As you work, the GPS will guide you with visual and audio cues to keep your tractor aligned with the AB line.
- You can always adjust or reset the AB line if you need to change your path or start a new task.
How to set the parameters for the application
Tips for Optimal Use
- Check Signal Strength: Ensure the GPS has a clear line of sight to the sky for the best signal. Avoid obstructions like trees or buildings.
- Software: Keep Wifi connect and Google login when usage. Don’t download any other application into the device.
- Clean the Screen: Use a soft, dry cloth to clean the touchscreen regularly, ensuring it’s free of dust and fingerprints.
- Back-Up Data: Frequently back up your saved field data to avoid losing any important information.

Interested in guidance system mostly for spraying